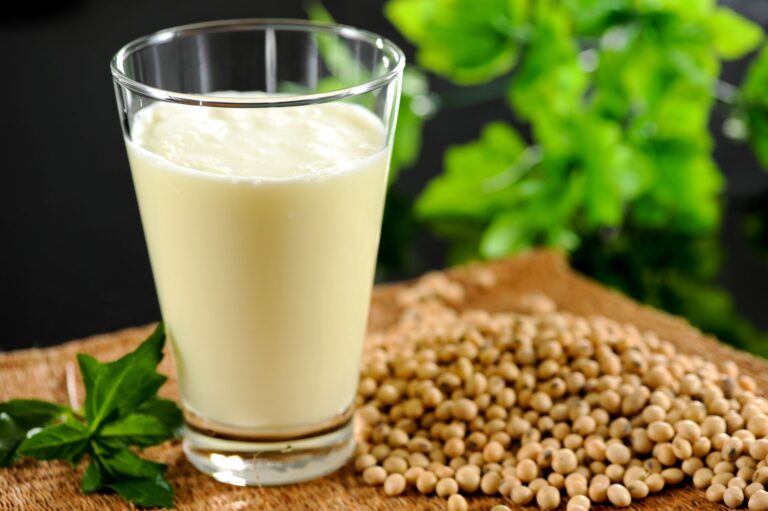
Soya bean milk also known as soy milk is a popular plant-based alternative to diary milk. This soya bean milk is enjoyed on it’s own or used as a substitute for diary milk in recipes and all. Soya bean milk is also used in beverages and added to smoothies. It is a healthy type of milk and it’s a perfect option for vegans and those who are lactose intolerant.
Soya bean milk is basically made by soaking soya bean for some time and grinding the soya bean after soaking, then straining the mixture removing any solid and then the strained out liquid is heated and sometimes sweetened. That’s about it, no more process needed to make soya bean milk. In this recipe, I’ll be giving a detailed guide on how to make soya bean milk so stick around.
Also note that soya bean milk is highly rich in vitamins, proteins and minerals. It is very versatile, it can be used in various ways. It’s creamy on texture and has a slight nutty flavor. It does not require much ingredients and it is very easy to make.
Ingredients:
- 1 cup of soya bean
- 4 cups of water
- Sweeteners; honey, sugar for taste.
Directions:
- Soak 1 cup of soya bean in water. Make sure the water covers it well, soak it for about 8 hours or better still soak overnight. This process softens the soya bean to make blending easy.
- After soaking for at least 8 hours, drain the soya bean thoroughly and then put in a blender along with the four cups of clean water more or less depends on the texture of soy milk You’re going for.
- Blend the soya bean on high speed for about 5 minutes or until it’s smooth and creamy.
- Get a nut milk bag or a cheese cloth, then place it over a container and pour in the blended soya bean squeezing the bag or cloth to drain out the soya milk out of the soya pulp. Drain thoroughly to separate the milk from the soya pulp.
- Get a nut milk bag or a cheese cloth, then place it over a container and pour in the blended soya bean squeezing the bag or cloth to drain out the soya milk out of the soya pulp. Drain thoroughly to separate the milk from the soya pulp.
- Remove the soy milk from heat and let it cool off for awhile. You can add sweeteners like honey or sugar if you want. If you’re adding, stir them properly until well combined.
- After the soy milk has cooled down a bit, drain it out again with a fine meat sieve to remove any residual solids. Then transfer the soy milk in a clean container and refrigerate it. It’s best store within 3-4 days.
That’s about it! Like I said it is an easy process. Your homemade soy milk is ready to be enjoyed anyhow you desire.
Read Also:
Conclusion:
This recipe is definitely a must try. Trust me it’s absolutely amazing. Even if you’re not lactose intolerant or dairy free you can still take this milk as it is healthier and delicious.
If you found this article helpful Leave a comment down below on the comment section on your thoughts and experience making this recipe. Don’t forget to share with your loved ones. Enjoy and have a lovely soy milk making.


